Data Model
Data models are pure data, which means there is no drag-and-drop aspect to using Data models in the Builder Visual Editor. However, as with all Builder models, you can use targeting, scheduling, queries and custom roles.
Examples of use cases for Data models include:
- Navigation links
- Product data
- Blog post author—the current document uses a blog post author as an example throughout.
- Site theme colors
- Server-side redirects
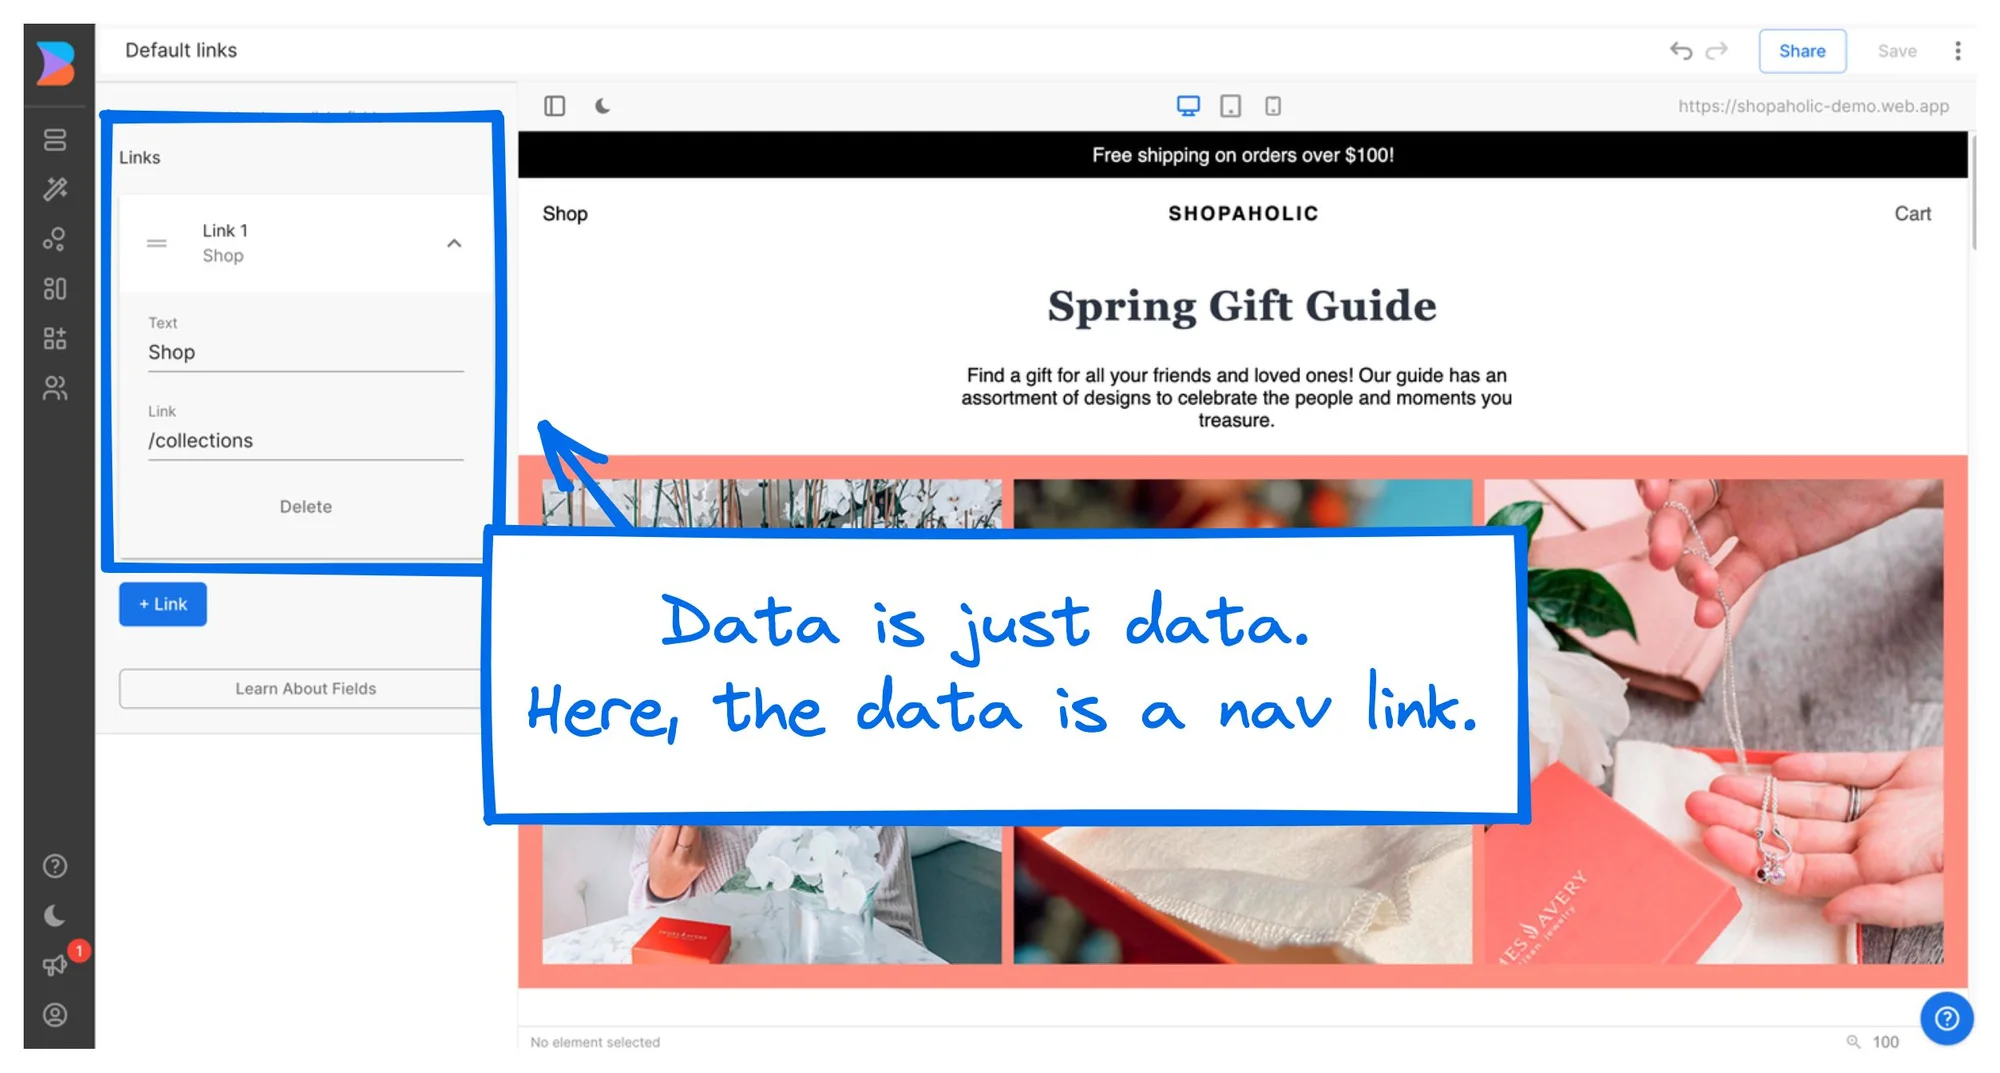
The following image shows an example of data as a navigation link. There is no drag-and-drop feature associated with a
Data model. Rather, you pull the data in and use it in your project and control the rendering entirely.

Finding your Data models
To find and view your Data models, do the following:
- Go to the Models section of the Builder UI.
- Scroll to the CMS Data Models section.
- Select a Data model.
The following video demonstrates the above steps to locate and open a real, internal Builder URL Redirect Data model.
Creating Data models
To create and use a Data model follow the below steps:
- Go to the Models section of the Builder UI.
- Click the + Create Model button.
- Choose Data.
- In the Model Display name field, enter the name you'd like this model to have when listed in the Models section of Builder. You can edit this later if you change your mind.
- Name the model and fill out the Model Description field.
- Click Create.
- Add any needed custom fields.
- Click Save.
To use the new Data model, integrate with your codebase and then your teammates can use the data in the Visual Editor.
The following video shows how to create an example Blog Author Data model then shows how to use the new model in a content entry:
Using an example Data model
To use a Data model, make sure you've already integrated CMS Data. The following video demonstrates using this same Blog Author Data Model from the previous section:
- In the Content section of Builder, click the + New button and choose the data model. Here, the example data model is Blog author.
- Fill out the fields you created in the previous section. Note that the required fields are red with an asterisk and note that indicates they are required.
- Name the Data Model entry. In this case, the name is the same as the author name.
- Click Publish.
Because this Data model is integrated with the codebase and associated with a real internal Builder Blog article section, the Options tab in the Visual Editor displays a place for users to choose the entry.
This example shows making a Data Entry for a blog author named Almosta Shakespeare and choosing Almosta as the author in a blog article.
Querying data using JS
To get your custom fields, use builder.get() with two arguments:
- Your model name
- An object, which contains a nested object,
query.
The following example is an example snippet of using query with builder.get().
builder
.get(YOUR_MODEL_NAME, {
  // limit the number of entries fetched
  limit: 2,
  // Optional mongo DB query (example)
  query: {
    'data.customField.$gt': 100,
  },
})
.promise()
.then(({data}) => {
  // Do something with the data
});
To use query:
- Pass in an object,
{}, as the second argument tobuilder.get()that contains the nestedqueryobject. - For the key-value pairs for
query{}, structure the query asdata.customField.$operator, where data is the worddata, andcustomFieldis the name of the field you want to query, followed by the operator. - Find the name of your custom field by expanding the field in the Data model.
Querying data using REST API
To query your data, you can use the Content API using
the syntax in the following GET example, where customField is the name of your custom field, followed
by the operator that meets your needs:
GET https://cdn.builder.io/api/v2/content/page?apiKey=...&query.data.customField.$gt=100
Examining this example, the parts are:
- The method:
GET - The endpoint:
https://cdn.builder.io/api/v2/content/page? - Your API Key:
apiKey=YOUR_API_KEY - Query:
&query.data.customField.$operator
For example, to query a custom field named price, use the following syntax:
// To query the custom field name
&query.id=price

// To query the field when it is not equal to 20
&query.data.myCustomField=someValue&query.data.someNumber.$ne=20
Finding the model name
To find the model name:
- Open the model in the Models section of Builder.
- Click the Show More button and copy the Unique identifier.
To find the name of a custom field, expand the custom field. Name is the first entry.
The following video shows finding the model name and a custom field name.
For more detail on query, refer to the query section of the Builder GitHub
readme Interface: GetContentOptions
and MongoDB's Query and Projection Operators.
To get more familiar with query parameters, refer to Builder Content API and the interactive Builder REST API Explorer.